Instagram Feed
Instagram Feed
Welcome to the “Instagram Feed” documentation.
Looking to integrate Instagram Feed into your website? Our widget allows you to effortlessly create an eye-catching Instagram gallery that brings your social media content to life.
In this guide, we'll show you how to use the editor to customize your Instagram Feed widget.
Step 1 : Open the Editor
1. Go to Instagram Feed template.
2. Click on "Edit" after choosing your template.

Step 2: Add your instagram account
Begin by connecting to your Instagram account:
1. First, click on the "Continue with Instagram " button.
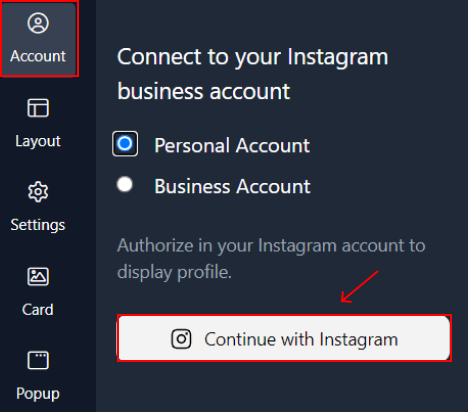
2. Upon logging in, your Instagram account will be shown, providing you with various options to update your profile information:


Create Instagram Widget for your Clients
If you are providing service to a client and they need to connect their business account, follow the steps below to help them connect:
1. On your Fouita dashboard go to "Projects" and create a new project
2. Inside the project page create a new widget, or move your created widget to this project
3. Filter "instagram business" from the list and proceed on creating the widget without connecting an account
4. After saving, go to project details page then go to "Teams" and invite your customer
5. After your customer logs in they will see the shared project, when they click they will see the widget that they can edit
6. Ask them to edit the widget and connect their "business account" (facebook page connected to instagram) then save.
Now you should be able to proceed with editing and embedding the widget into your client's website.
Step 3: Configure settings
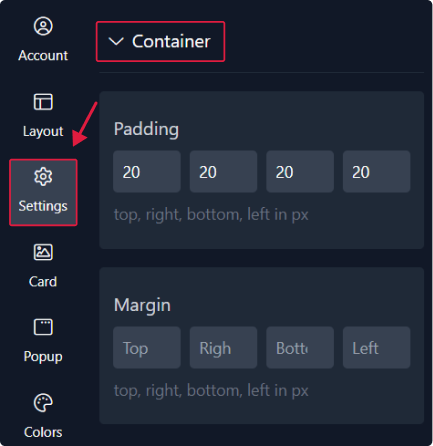
In the settings panel, you have control over various aspects:
1. You can adjust the spacing around the widget by customizing the margin and padding.
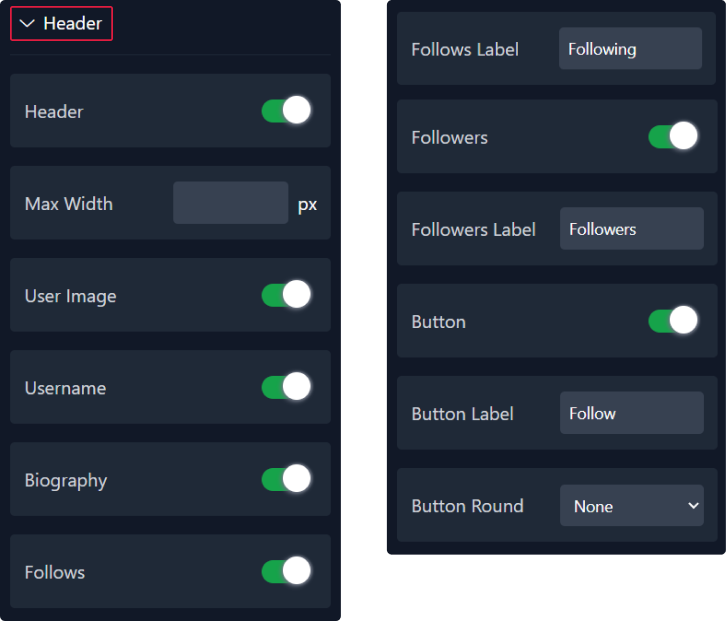
2. In this section, you can choose to display or hide the header. Specify its width and select which header content to display, such as the username, user image, biography, follows, and followers.
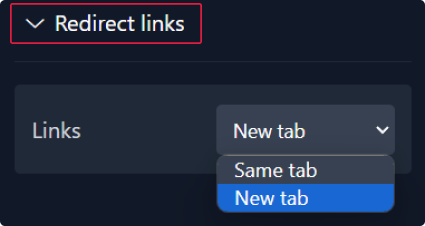
3. Additionally, you can set the redirect links to open in the same tab or a new tab.
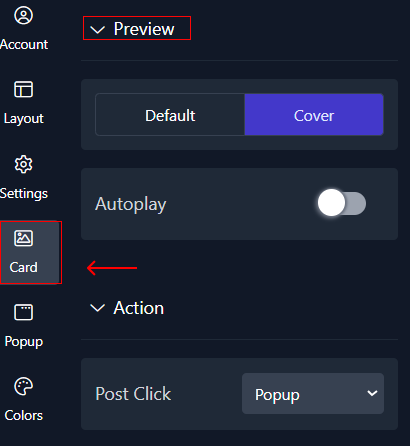
Step 4: Personalize cards
In the card panel, you have control over various aspects:
1. Choose how to display your cards, either as default or cover. You can also select the action that occurs when the post is clicked.
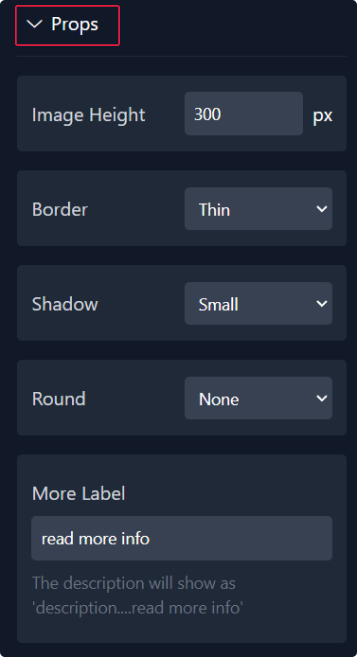
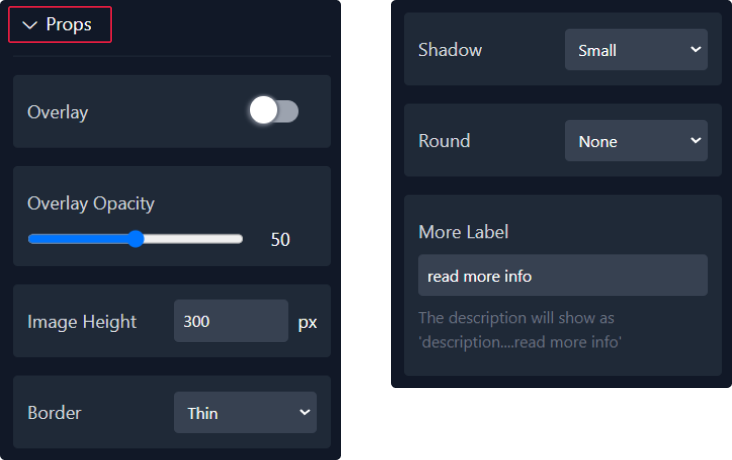
2. In the "Props" section :
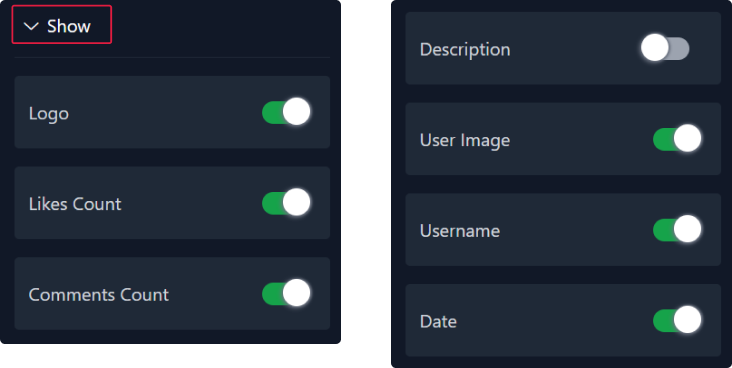
3. Furthermore, you have the option to show or hide each card's content as needed.
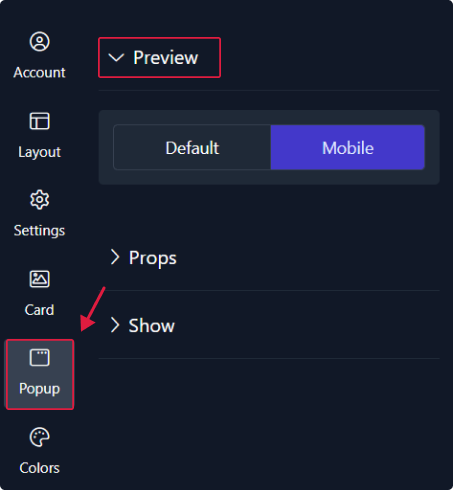
Step 5 customize the popup
1. When configuring the popup, you can select its display mode, either as default or mobile.
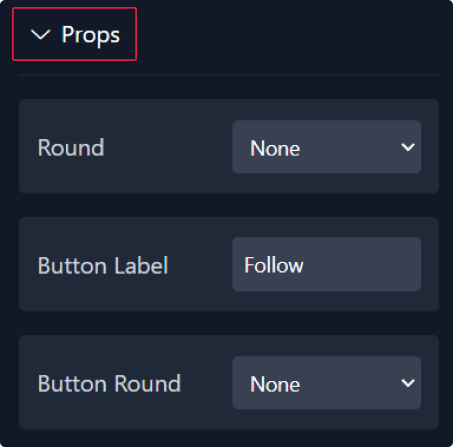
2. In the "Props" section, you can set the popup's roundness, write the button label, and adjust its roundness.
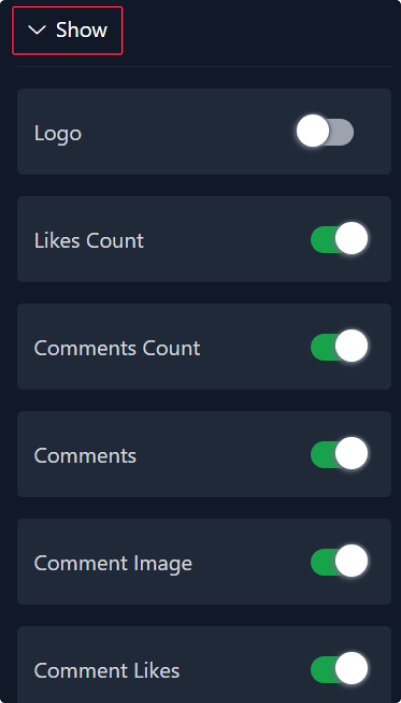
3. Additionally, you can choose whether to show or hide each popup's content as required.
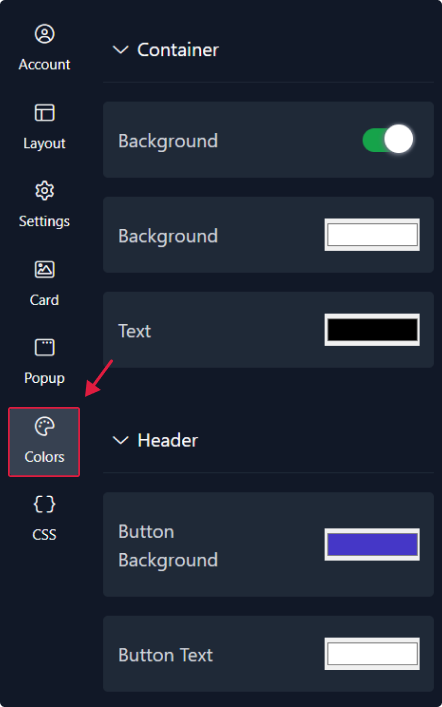
Step 6: Choose Colors
Within this panel, you can select colors that match your website's design.
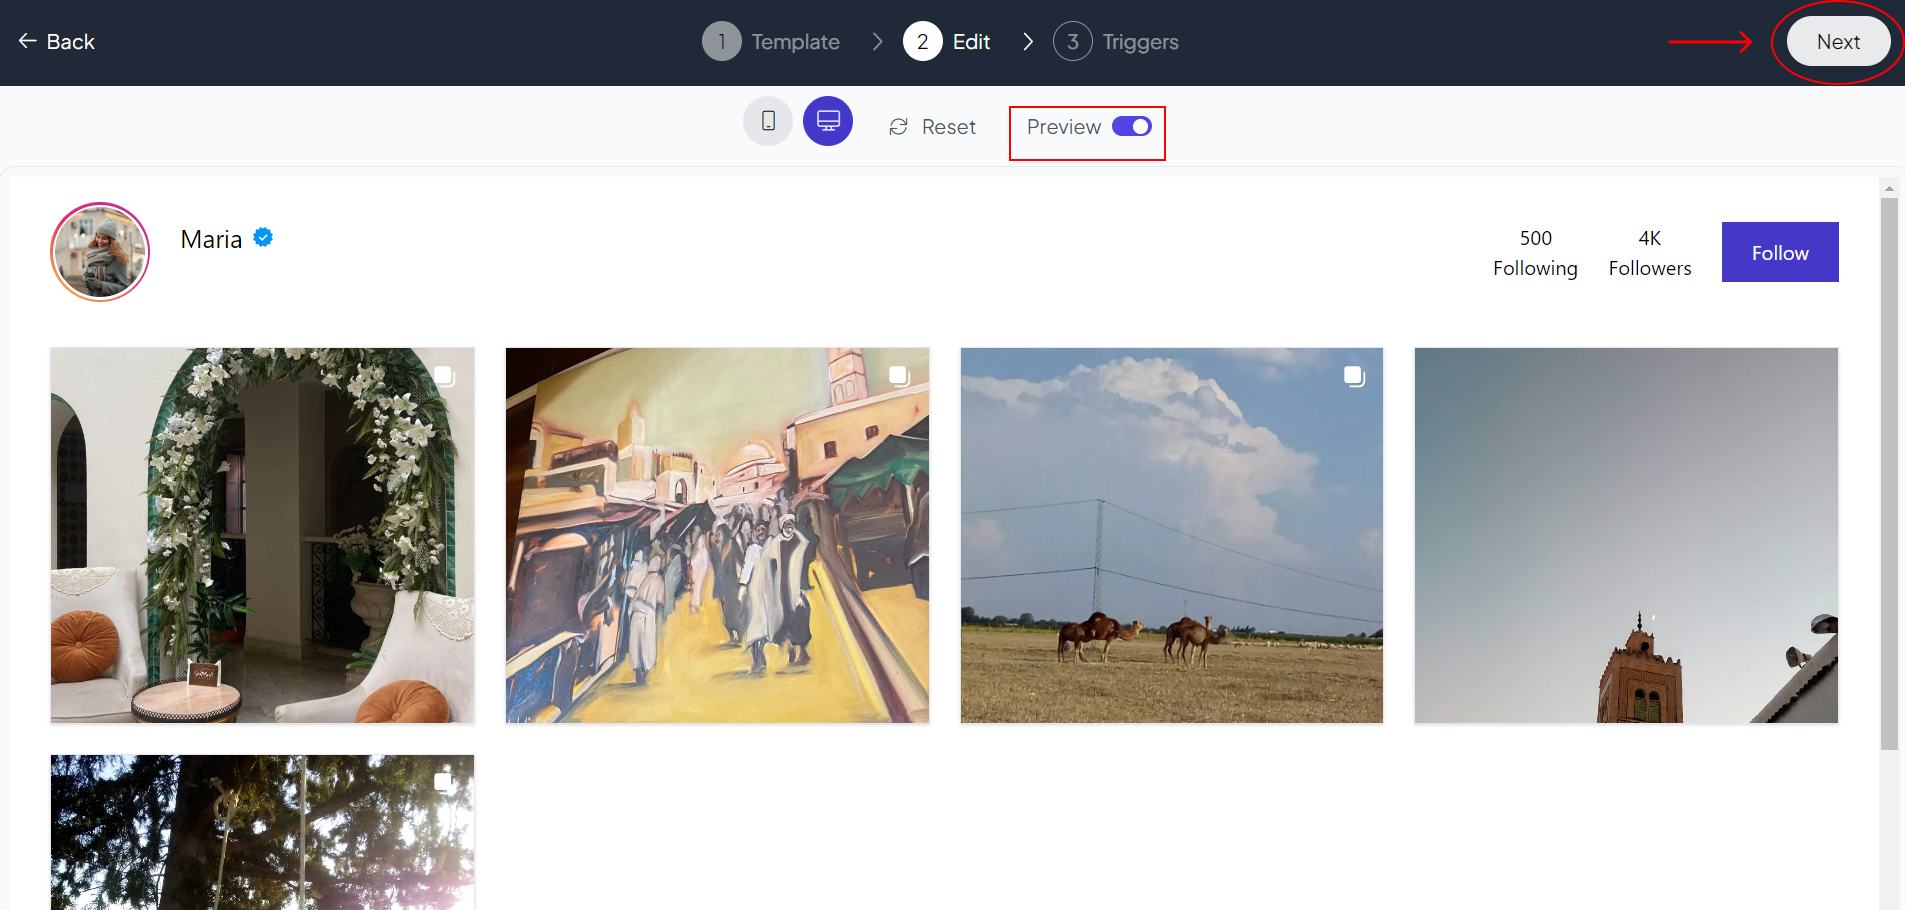
Step 7: Preview
Lastly, you can click on “Preview” to see how your Istagram feed widget looks on both desktop and mobile devices. After this, you can proceed to the next step.
Related Articles:
widgets
social feed
social
all in one reviews
wheel of fortune
editable reviews
restaurant menu
notification feed
youtube gallery
instagram feed
Enquiry Form
popup shop
countdown
image slider
Cookies
Buttons
Rss feed
More widgets
integrations
webhook
hubspot
mailchimp
convertkit
slack
sendgrid
More Integrations
installations
shopify
wordpress
squarespace
webflow
duda
jimdo
More Installations
built using fouita!