Website Translator
Website Translator
Welcome to the “Website Translator” documentation. Looking to integrate a Translator into your website? Our widget allows you To broaden accessibility and reach diverse audiences globally. In this guide, we'll show you how to use the editor to customize your Website Translator widget.
Step 1: Open the Editor
1. Go to Website Translator template.
2. Click on "Edit" after choosing your template.

Step 2: customize the content
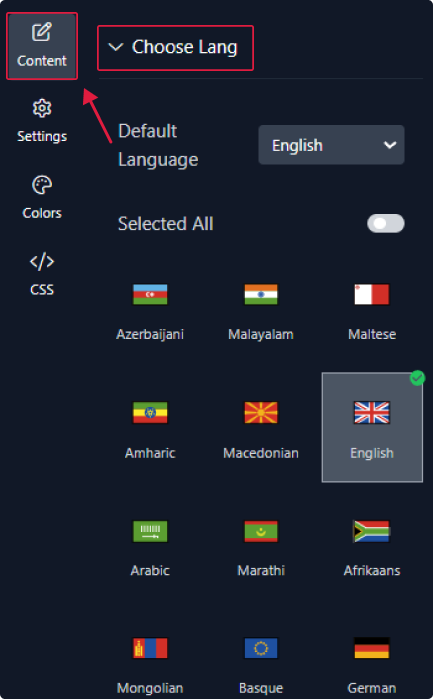
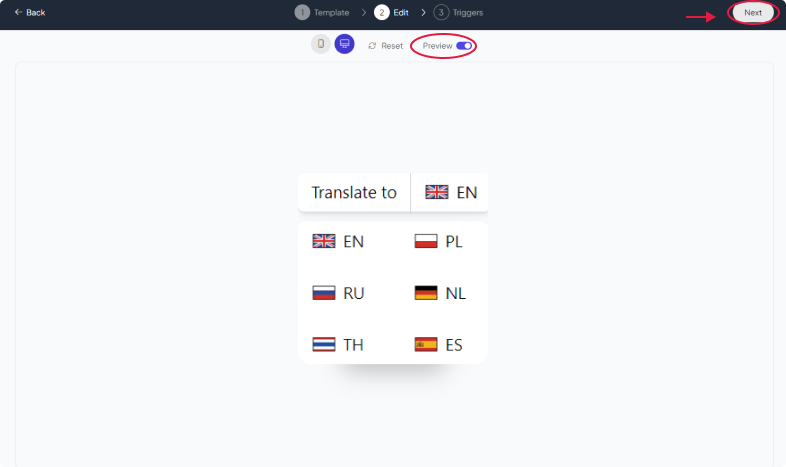
1. In this panel, you can easily manage the languages for your translators. You have the option to include all languages or select specific ones. Additionally, you can choose the default language.
Step 3: Configure settings
Here, you'll handle the settings:
1. Begin by enabling the auto-translate feature, adjusting the text size and margins, and selecting whether to display languages in their short or long form.

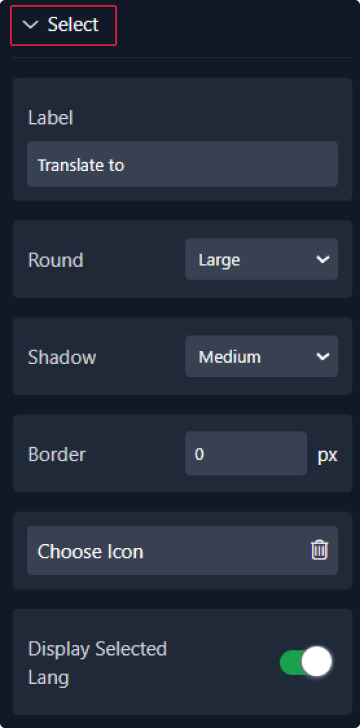
2. Enter a label, adjust the rounding, shadow, and border, select an icon, and choose whether to display the selected language.
3. For the dropdown menu, you have the option to choose its display method—either by hover or click. You can also customize the width and height. Additionally, you can set the maximum number of grids, adjust the gap, add rounded corners, apply a shadow, include a border, and set the top margin.

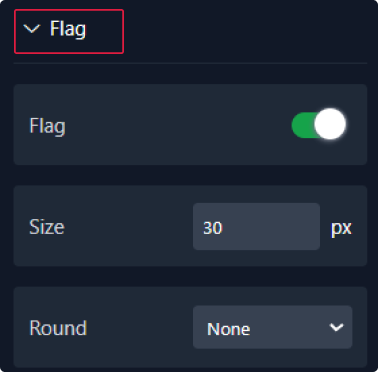
4. Lastly, for the flag, you can choose to display or hide it, adjust its size, and customize the border.
Step 4: Choose Colors
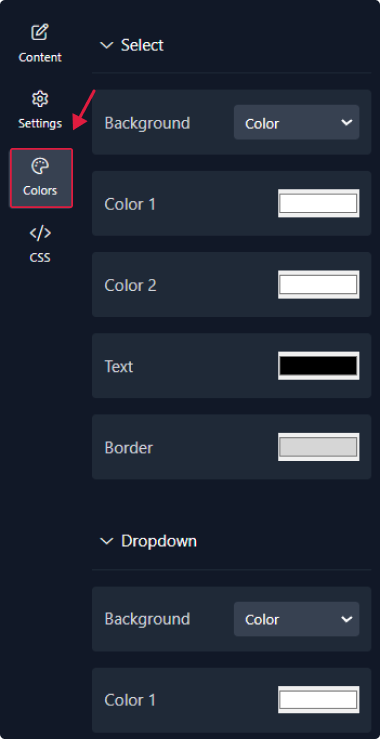
1. Within this panel, you can select colors that match your website's design.
Step 5: Preview
Lastly, you can click on “Preview” to see how your Translator widget looks on both desktop and mobile devices. After this, you can proceed to the next step.
Related Articles:
widgets
social feed
social
all in one reviews
wheel of fortune
editable reviews
restaurant menu
notification feed
youtube gallery
instagram feed
Enquiry Form
popup shop
countdown
image slider
Cookies
Buttons
Rss feed
More widgets
integrations
webhook
hubspot
mailchimp
convertkit
slack
sendgrid
More Integrations
installations
shopify
wordpress
squarespace
webflow
duda
jimdo
More Installations
built using fouita!