Ai Chatbot
Ai Chatbot
Welcome to the “Ai Chatbot” documentation.
Looking to integrate Ai Chatbot into your website? Our widget allows you to create engaging chat experiences that enhance user engagement and interaction.
In this guide, we'll show you how to use the editor to customize your social chat widget.
Step 1 : Open the Editor
1. Go to Ai Chatbot template.
2. Click on "Edit" after choosing your template.

Step 2 : Credentials Tab
The Credentials tab manages your AI provider connection, API authentication, chatbot context, and assistant personality.
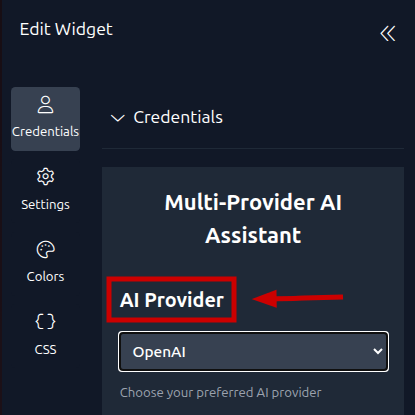
1. AI Provider
Select which AI service powers your chatbot.
* OpenAI — OpenAI (GPT models)
* Anthropic Claude — Anthropic (Claude models)
* Google Gemini — Google (Gemini models)
The configuration fields below change dynamically based on the selected provider.
2. OpenAI, Claude & Gemini Configurations
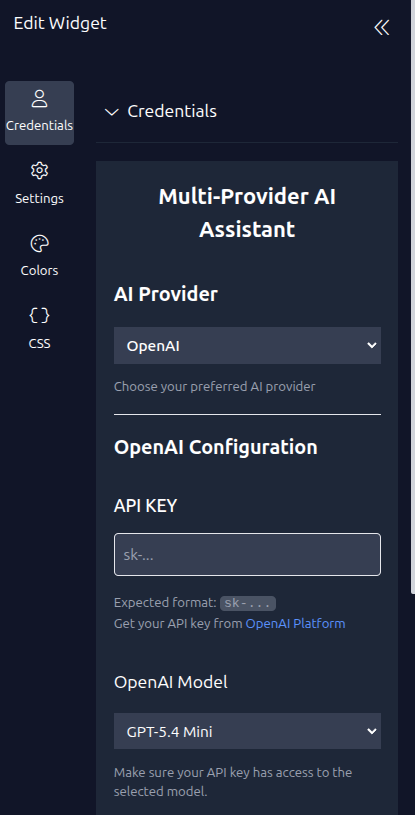
a. OpenAI Configuration
API KEY Configuration
Prefix Required: sk-
Your secret API key for authenticating with OpenAI. Get yours at platform.openai.com/api-keys.
- Never share your API key publicly. It is stored securely and used only for chatbot requests.
OpenAI Model
* GPT-5.4 Pro — Most powerful model, highest cost
* GPT-5.4 — Balanced performance
* GPT-5.4 Mini — Fast and cost-effective (default)
* GPT-5.4 Nano — Lightweight, fastest response
- Ensure your API key has access to the selected model.
b. Claude Configuration
API KEY Configuration
Type: Password input — Placeholder: sk-ant-... — Prefix Required: sk-ant-
Your Anthropic API key. Get yours at console.anthropic.com.
Claude Model
* Claude Opus 4-6 — Most capable, complex reasoning
* Claude Sonnet 4-6 — Balanced speed and intelligence
* Claude Haiku 4-5 — Fastest, most cost-effective
- Claude 4.x series with enhanced capabilities.
c. Gemini Configuration
API KEY Configuration
Type: Password input — Placeholder: AIza... — Prefix Required: AIza
Your Google AI Studio API key. Get yours at makersuite.google.com/app/apikey.
Gemini Model
* Gemini 3.1 Pro Preview — Latest preview, most capable
* Gemini 3 Flash Preview — Fast preview model
* Gemini 3.1 Flash Lite Preview — Lightweight preview
* Gemini 2.5 Pro — Stable, high performance
* Gemini 2.5 Flash — Fast and efficient
* Gemini 2.5 Flash Lite — Most lightweight
- Gemini 3 series includes the latest preview models.
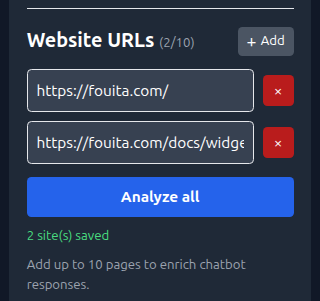
3. Website URLs
Type: Dynamic URL list — Max URLs: 10
Provide up to 10 website pages for the chatbot to analyze. The content from these URLs is used to enrich the chatbot's responses with context from your site.
* Click + Add to add a new URL field
* Enter a full URL (e.g., https://example.com)
* Click Analyze all to process all entered URLs
* Remove a URL by clearing the field or clicking the remove button
- The chatbot uses this content to give more accurate, site-specific answers.
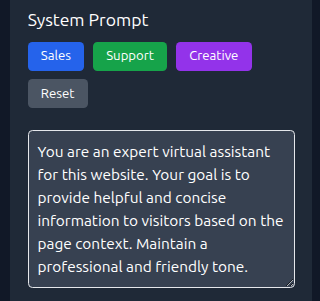
4. System Prompt
Define the chatbot's personality, role, and behavior. This is the base instruction sent to the AI with every conversation.
Click a preset to instantly apply a predefined personality:
* Sales — Sales Rep: High-energy, highlights product benefits, overcomes objections, encourages action
* Support — Tech Support: Calm, patient, step-by-step problem solving using documentation
* Creative — Brand Ambassador: Witty, uses emojis, engaging and fun conversations
* Reset — Default Assistant: Professional, friendly, helpful and concise (default)
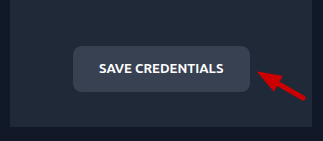
5. Save Credentials
Click Save Credentials to save all settings. Changes are applied immediately to the chatbot.
Step 3 : Configure settings

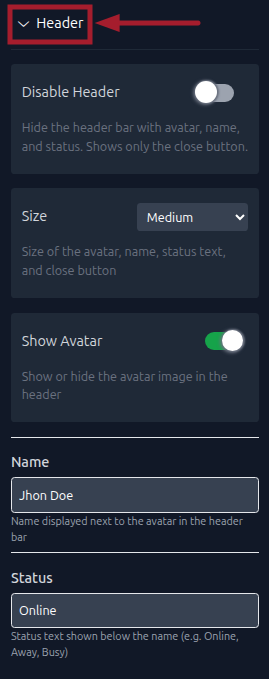
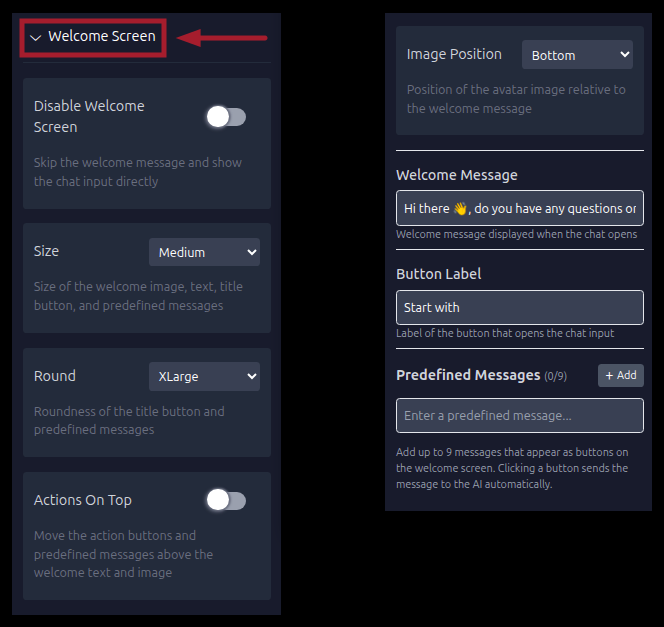
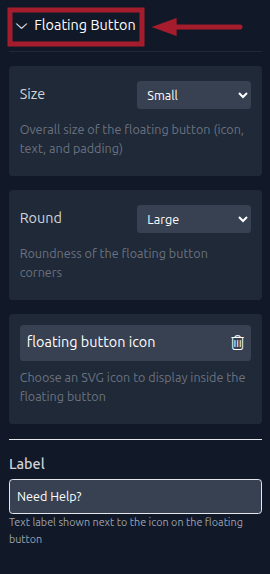
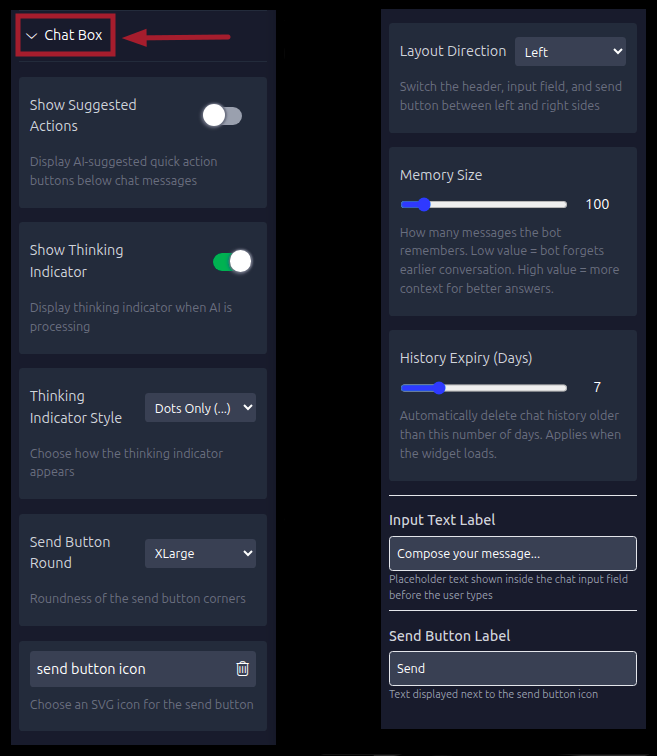
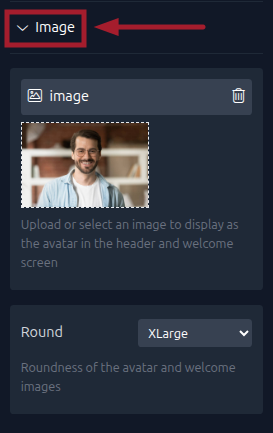
- Image settings let you set the avatar image displayed in both the header and the welcome screen, and control its corner roundness from a square shape to a perfect circle.
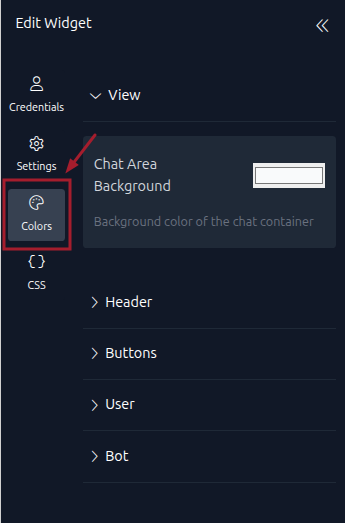
Step 4 : Choose Colors
Within this panel, you can select colors that match your website's design.
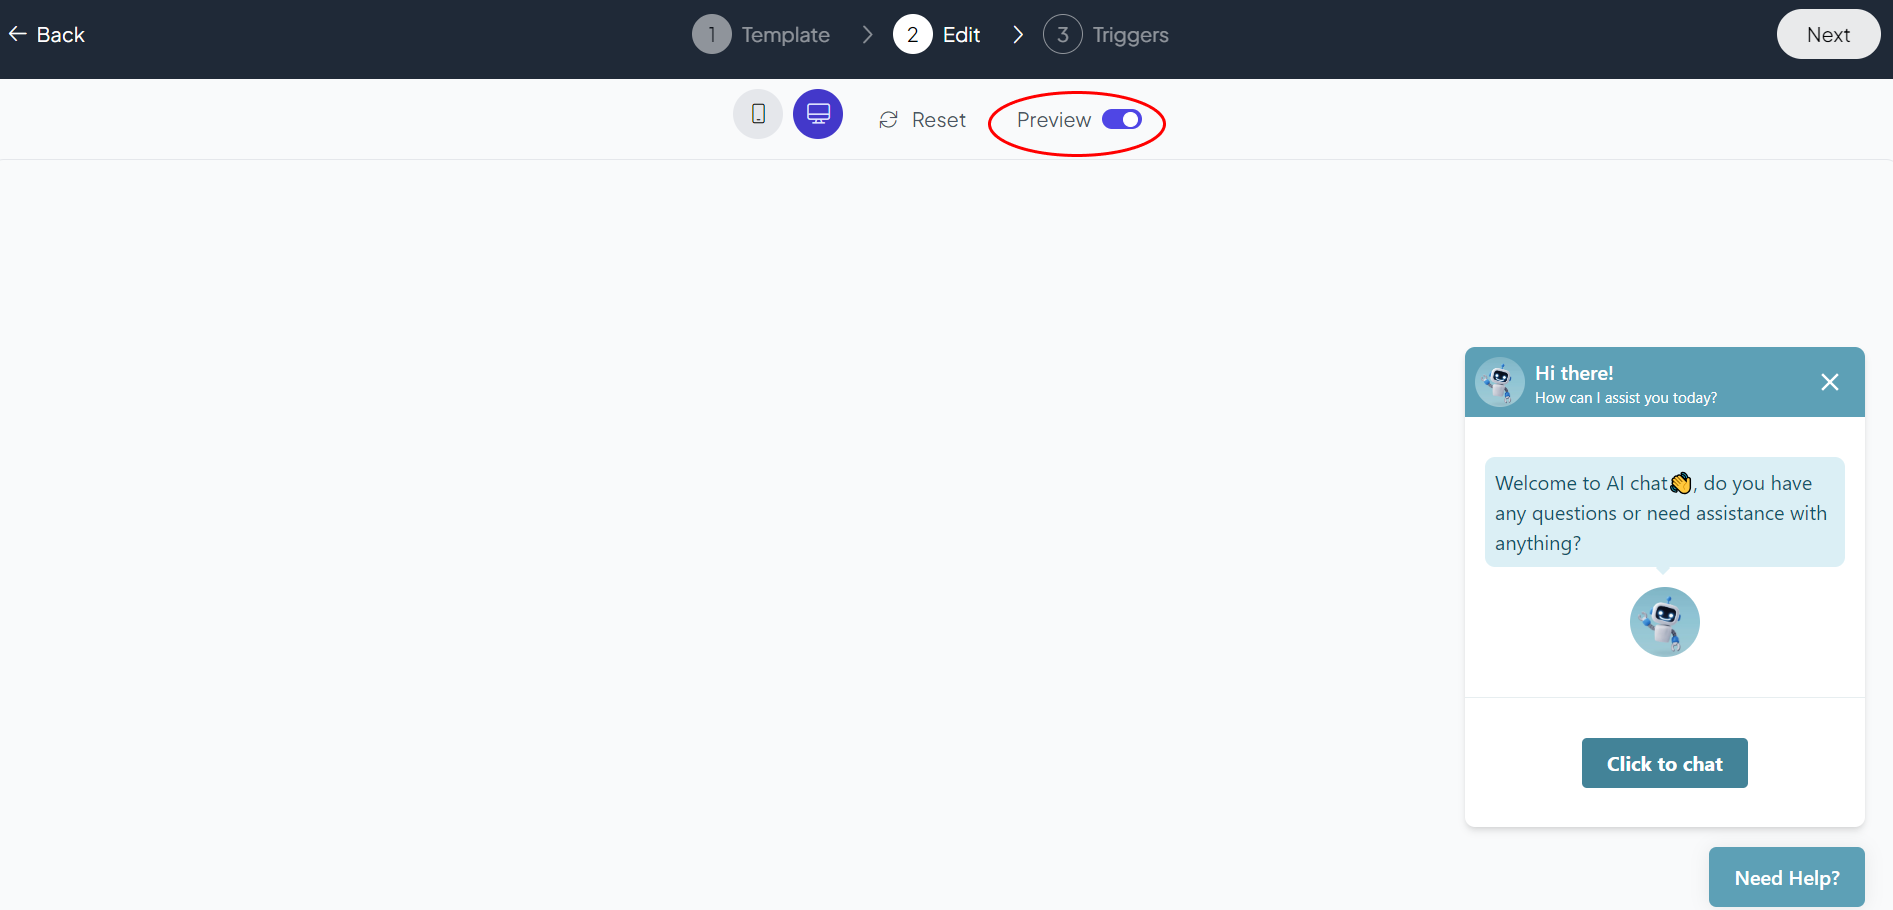
Step 5 : Preview
Lastly, you can click on “Preview” to see how your Ai Chatbot widget looks on both desktop and mobile devices. After this, you can proceed to the next step.
Related Articles:
© 2026. All rights reserved.