Password Protector
Password Protector
Welcome to the “Password Protector” documentation.
Looking to integrate a Password Protector section into your website? In this guide, we'll show you how to use the editor to customize your Password Protector widget.
Step 1 : Open the Editor
2. Click on "Edit" after choosing your template.
Step 2 : Configure Settings
Here, you'll handle the Password Protector settings:
1.
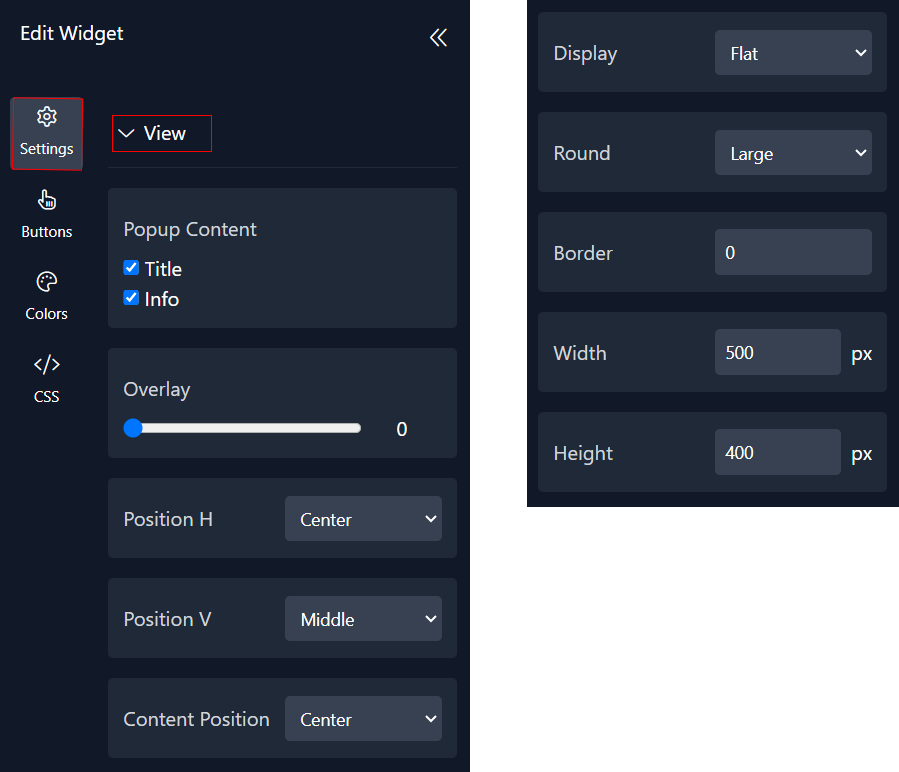
In the "View" section, you have the option to choose whether to display the title and incident information within the popup. Moreover, you can customize various aspects such as content position, display, roundness, border, width, and height to your preference.

2. Customize logo appearance by uploading the image and adjust the width.
3.Customize the image by uploading your desired image and adjusting its position, width, and height as needed.
4. In the input section, you have the option to customize the password input by adjusting the roundness, border, width, and placeholder as needed.
5. You can customize the text for the action and then adjust the background opacity and text position as needed.
6. For the required message, you can specify the text, background opacity, and text position as needed.
Step 3: Adjust The Button
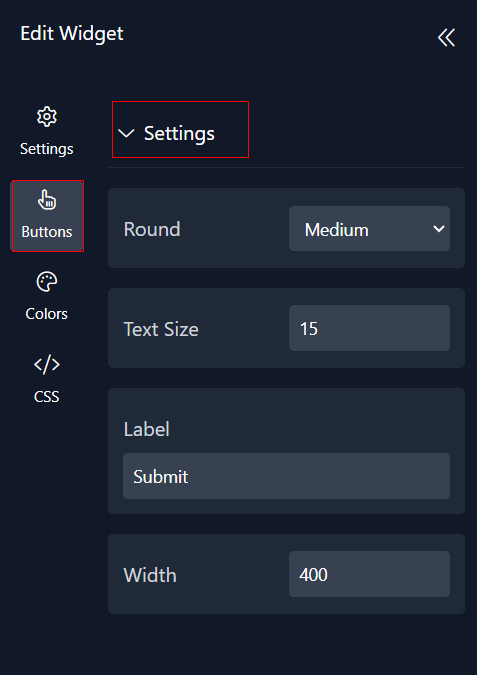
You have the ability to customize the button settings by adjusting their roundness, text size, label and width.

Step 4 : Choose colors
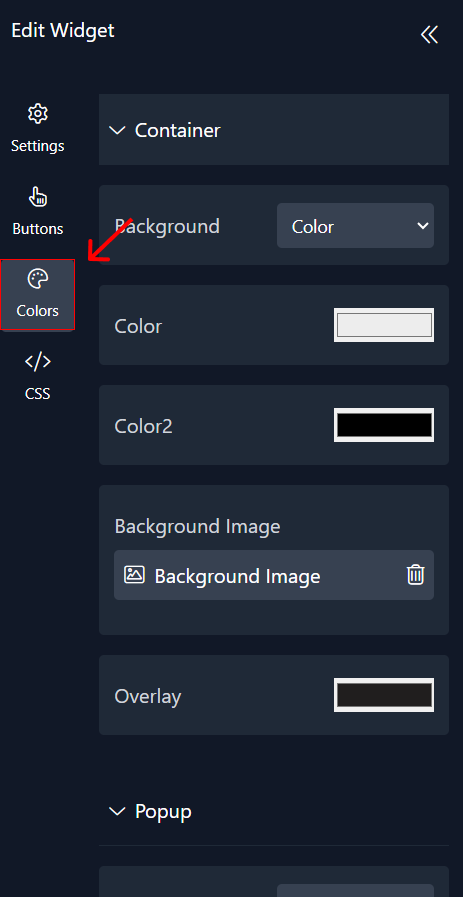
Within this panel, you can select colors that match your website's design.

Step5 : Preview
Lastly, you can click on “Preview” to see how your Password Protector widget looks on both desktop and mobile devices. After this, you can proceed to the next step.
widgets
social feed
social
all in one reviews
wheel of fortune
editable reviews
restaurant menu
notification feed
youtube gallery
instagram feed
Enquiry Form
popup shop
countdown
image slider
Cookies
Buttons
Rss feed
More widgets
integrations
webhook
hubspot
mailchimp
convertkit
slack
sendgrid
More Integrations
installations
shopify
wordpress
squarespace
webflow
duda
jimdo
More Installations
built using fouita!
